 by
by Absolutely! Let’s break this down in detail so that even a complete beginner can follow it. I’ll explain everything step by step, with tips to make it simple and stress-free.
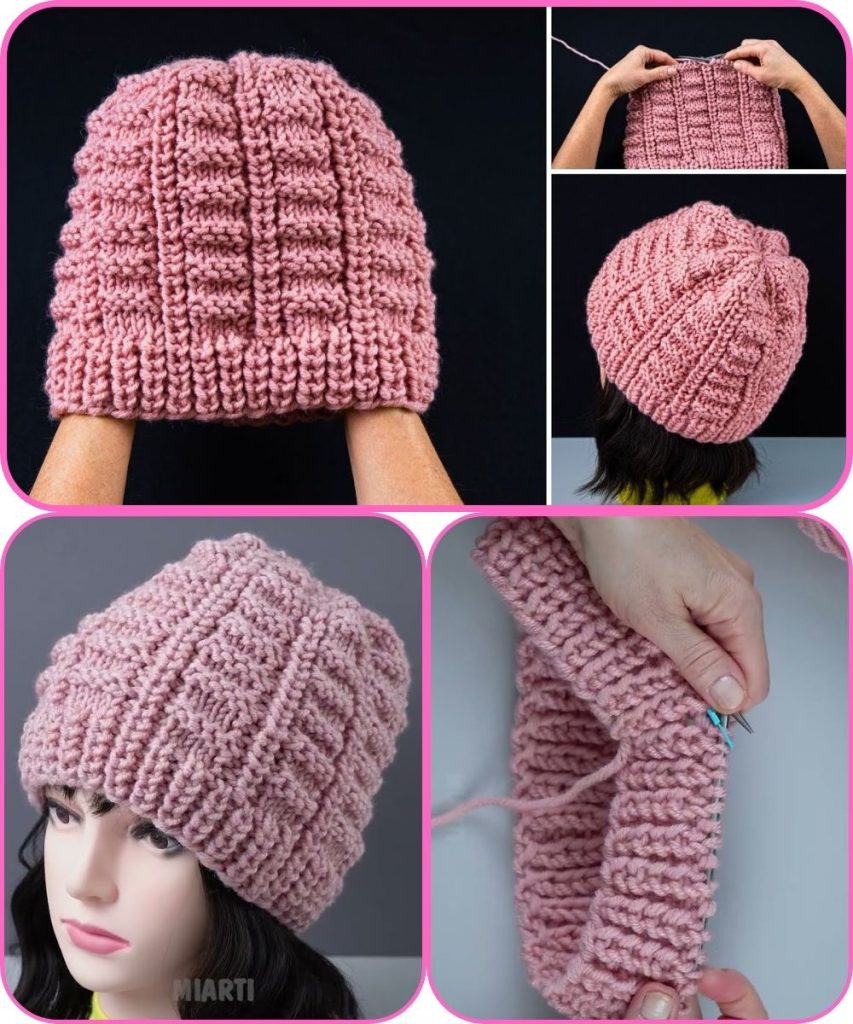
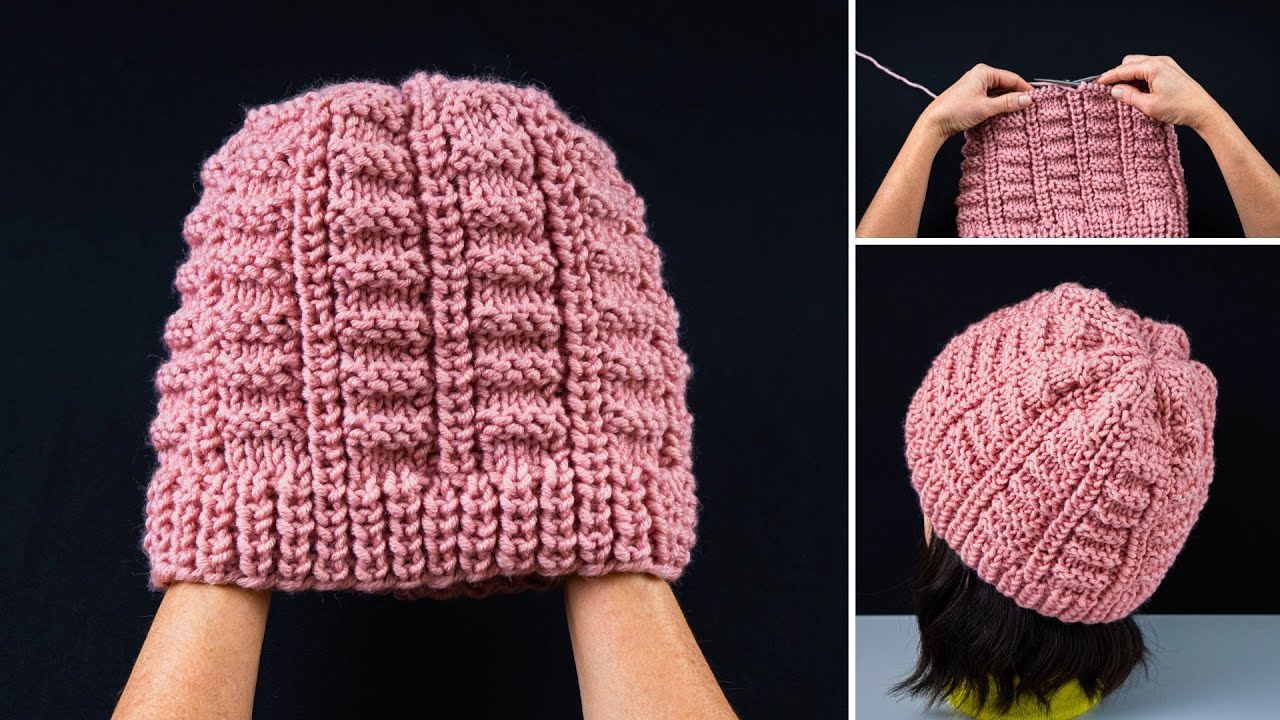
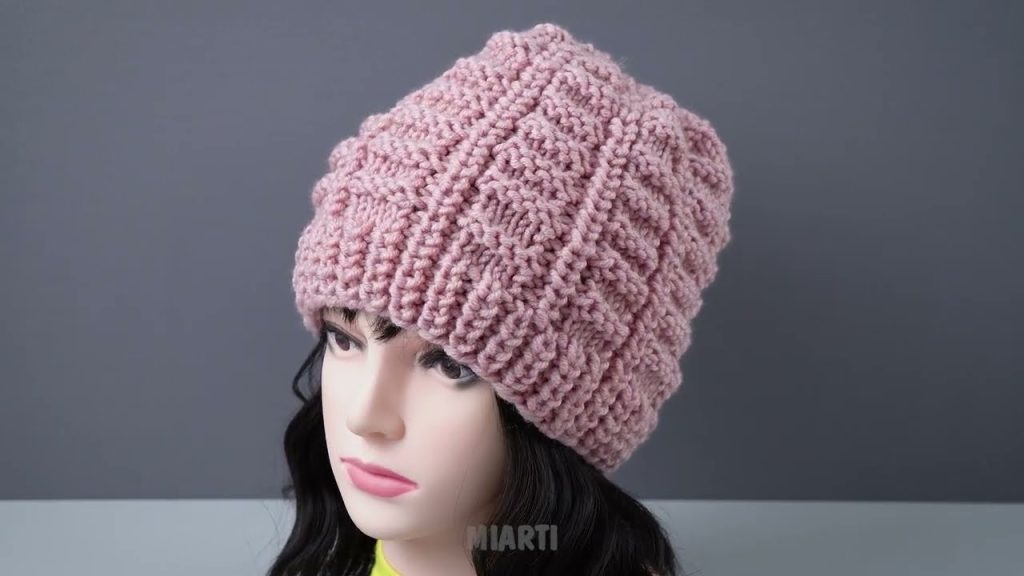
How to Knit a Simple Hat – Beginner Friendly
Knitting a hat is one of the easiest projects for beginners. You only need basic skills: casting on, knitting, and decreasing. Here’s a step-by-step guide.
Materials You’ll Need
- Yarn: Choose a medium-weight yarn (often labeled “worsted weight”). Avoid very thin or very thick yarn for your first hat.
- Knitting needles: Circular needles (16–24 inches long) or double-pointed needles (DPNs), size recommended on your yarn label (usually US 8 / 5 mm for worsted yarn).
- Stitch markers: Optional but helpful to mark the start of your round.
- Tapestry needle: For weaving in ends.
- Scissors: To cut the yarn.
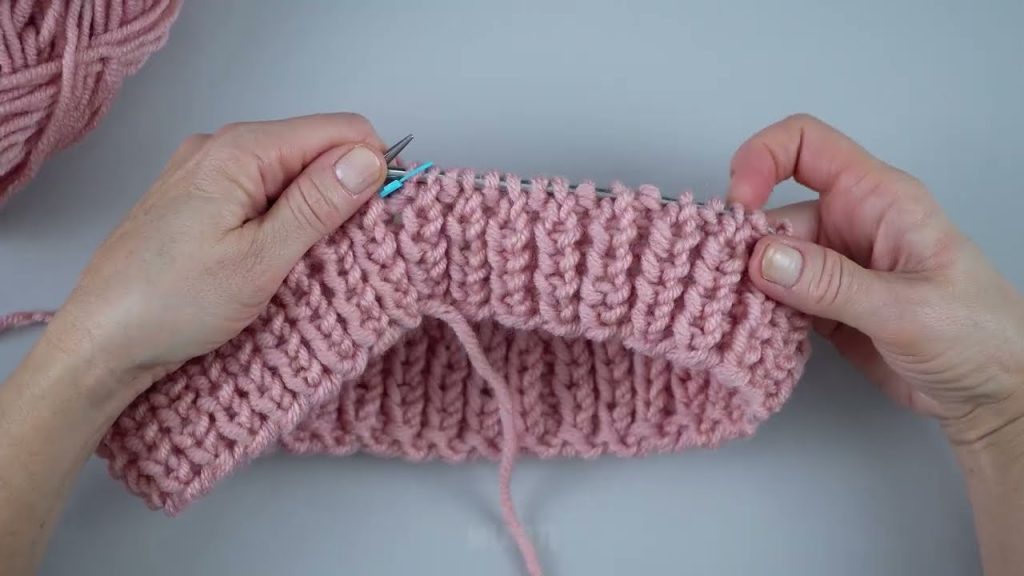
Step 1: Measure and Cast On
- Measure your head or the person’s head you’re knitting for. Average adult hat circumference is 20–22 inches.
- Use a stretchy cast-on method (like the long-tail cast-on) and cast on the number of stitches that fits the head circumference. The yarn label often gives a good stitch range.
- Example: For worsted weight yarn and US 8 needles, cast on 80–100 stitches for an adult.
Step 2: Join in the Round
- If using circular needles, carefully join your stitches in the round. Make sure not to twist the stitches—this will ruin the hat!
- Place a stitch marker at the beginning of the round.
Tip: If using straight needles, you can knit flat and seam the hat later, but circular needles give a seamless hat.
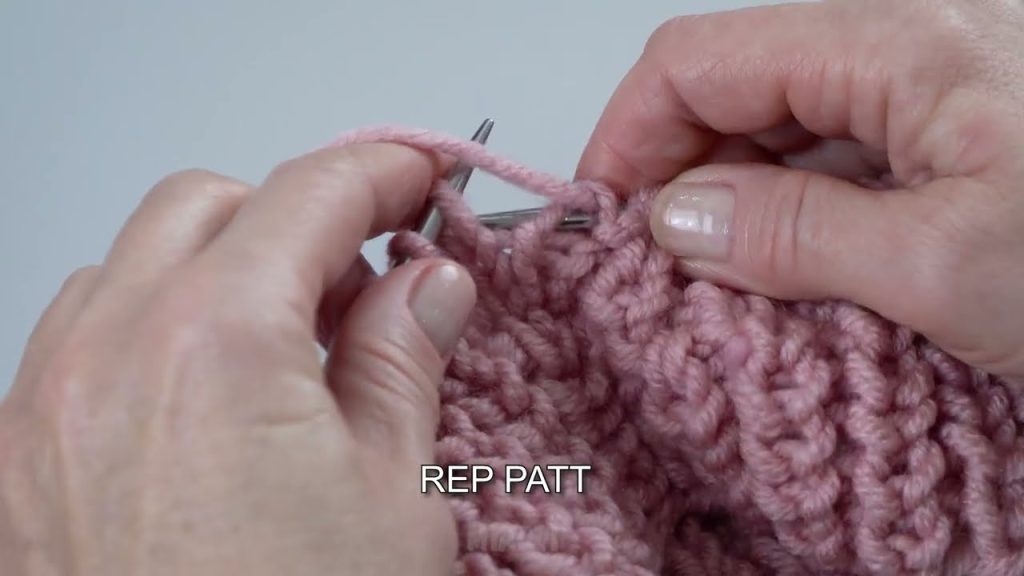
Step 3: Knit the Body of the Hat
- Use stockinette stitch (knit every stitch in the round) for simplicity.
- Keep knitting until the hat reaches about 6–7 inches from the cast-on edge (or desired length before the crown starts).
- You can try it on as you go!
Step 4: Shape the Crown (Top of the Hat)
- Start decreasing to form the top:
- Round 1: Knit 8, knit 2 together (k2tog), repeat to the end of the round.
- Round 2: Knit all stitches.
- Round 3: Knit 7, k2tog, repeat.
- Round 4: Knit all stitches.
- Continue decreasing in this pattern until about 10–12 stitches remain.
- Cut the yarn, leaving a 6-inch tail.
Step 5: Close the Top
- Thread the tail through a tapestry needle.
- Pull it through the remaining stitches and pull tight to close the top.
- Weave in the ends on the inside of the hat to secure.
Step 6: Finishing Touches
- Block your hat by gently wetting it and shaping it. This helps it sit nicely.
- Optional: Add a pom-pom for fun!
✅ Tips for Beginners
- Choose simple yarn: Smooth yarn is easier to work with than fuzzy or novelty yarn.
- Count your stitches: This prevents mistakes.
- Don’t worry about tension at first: Practice will improve your evenness.
- Use stitch markers: They help you track decreases and rounds.
This method makes knitting a hat super approachable, even if you’ve never knitted before. In just a few hours, you can have a cozy, handmade hat!
Watch tutorial: