 by
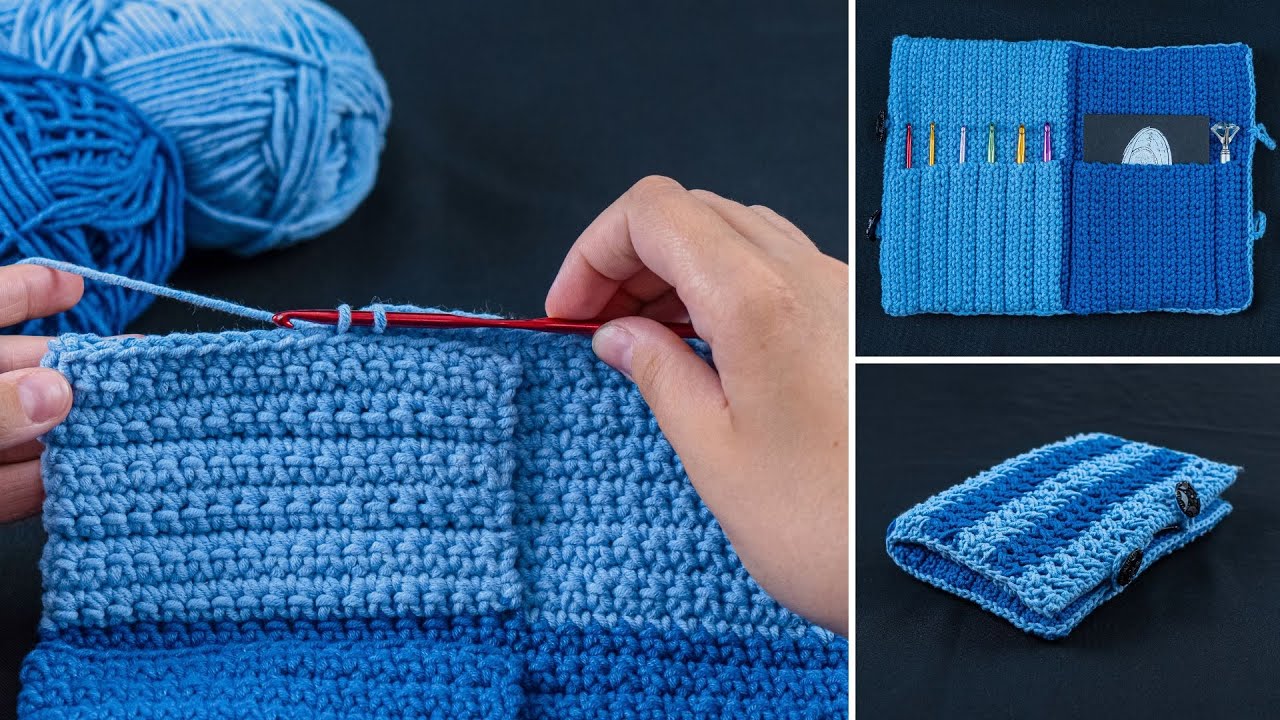
by Here’s a detailed, beginner-friendly guide to making a simple crochet organizer that can hold your hooks, small notebooks, pens, or other craft supplies 🧶📒. It uses basic stitches and works up quickly.
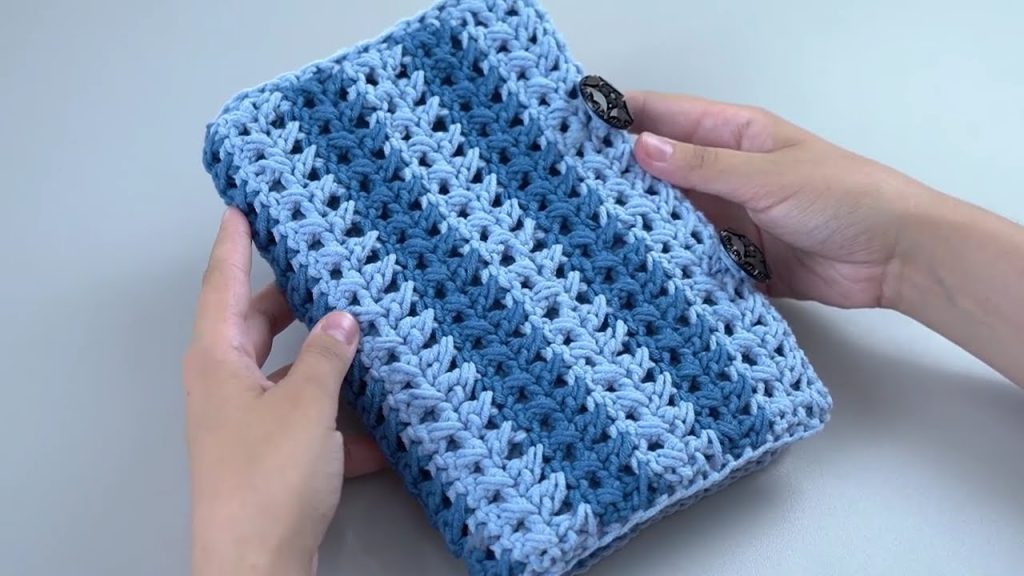
How to Make a Simple Crochet Organizer for Hooks and Notebooks
Skill Level
Beginner (no advanced stitches needed)
Finished Size
- Approx. 8 inches wide × 10 inches tall × 2 inches deep
- Adjustable depending on the size of your notebooks or supplies
Materials Needed
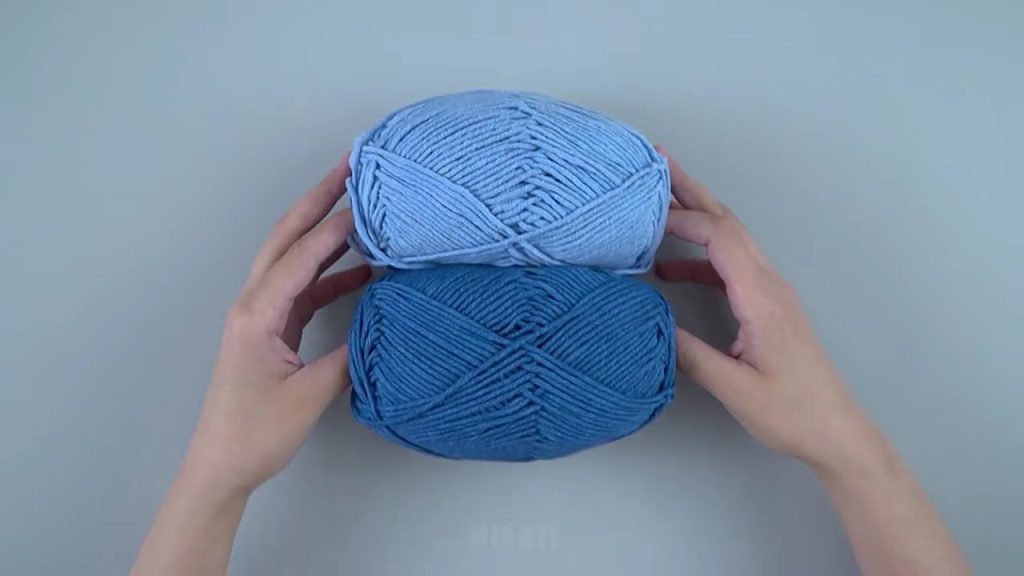
- Yarn: Medium weight yarn (Category 4 / worsted weight)
Cotton yarn is recommended for structure - Crochet hook: 5 mm (H/8)
- Yarn needle for sewing pieces and weaving in ends
- Scissors
- Optional: buttons, elastic, or small loops for closure or holding pens
Basic Crochet Stitches Used
- ch – chain
- sc – single crochet
- sl st – slip stitch
- st(s) – stitch(es)
This project uses only single crochet, making it very beginner-friendly.
Step-by-Step Instructions
Step 1: Crochet the Base
- Chain 16 (or width desired for the organizer)
- Row 1: sc in 2nd chain from hook and each chain across → 15 sc
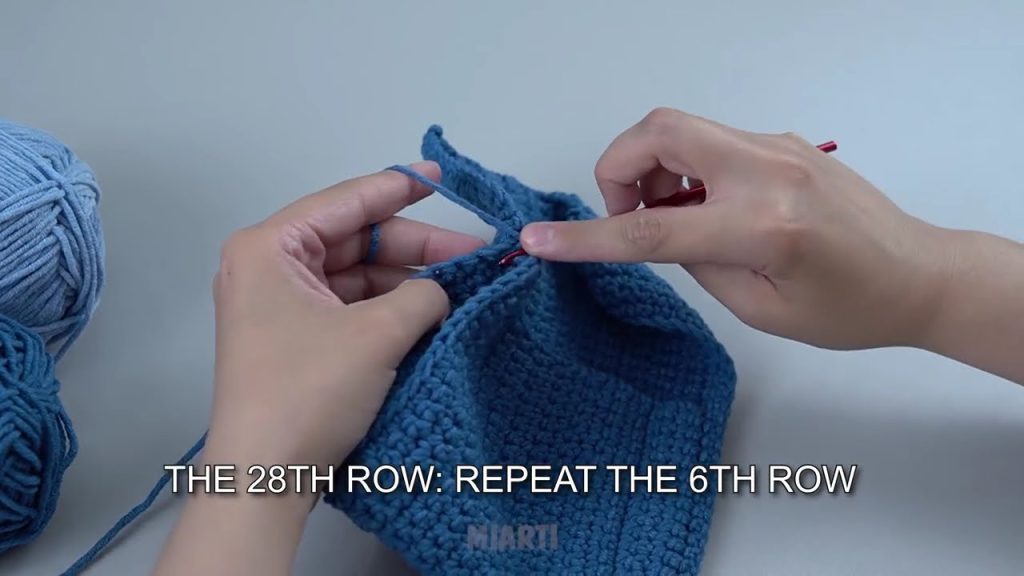
- Row 2–30: ch 1, turn, sc across
Continue until the base measures about 8 inches tall (or desired height).
Step 2: Build the Sides
- After the base, work in sc around the edges of the rectangle to form the sides:
- 2 sc in each corner stitch for smooth corners
- Continue around to form a rectangle wall
- Work 5–6 rounds of sc to create the side walls (~2 inches deep)
Optional: Add extra rounds for a taller organizer.
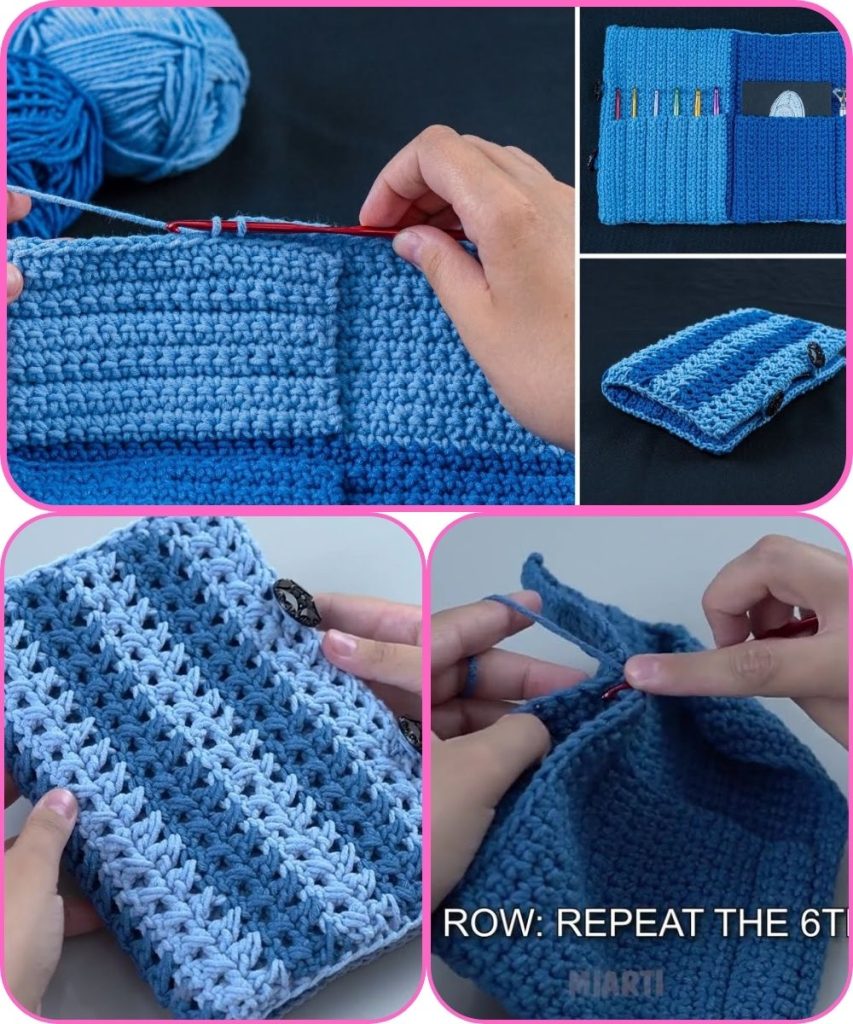
Step 3: Add Internal Pockets
- Decide the number of pockets (for hooks, pens, or notebooks)
- For each pocket:
- Chain 10–12 (or desired pocket width)
- Attach to inside wall with slip stitches or sc along the edge
- Work 4–5 rows sc for pocket height
- Space pockets evenly along the inside
Tip: Use a stitch marker to keep pockets aligned.
Step 4: Add Handles or Loops (Optional)
- Create small loops for hooks or closure:
- Chain 6–8
- Attach to inside or outside with a slip stitch
- Make 2–3 loops for organization or pen holders
Step 5: Finish the Organizer
- Cut yarn and pull through last loop
- Weave in all loose ends with a yarn needle
- Optionally, add a button or elastic across the top to secure contents
Customization Ideas
- Use bright colors or stripes for a fun look
- Add labels or small sewn tags for each pocket
- Make a larger version to hold bigger notebooks
- Sew in a fabric lining for extra stability
Beginner Tips
- Use cotton yarn for sturdiness
- Keep your stitches tight so the organizer holds shape
- Count stitches carefully when making pockets
- Start with fewer pockets if this is your first organizer
🎉 Congratulations! You’ve just made a simple, functional crochet organizer perfect for keeping your hooks, pens, and notebooks neatly arranged.
I can also make a super-easy one-page diagram pattern showing where to place the pockets and loops, so it’s even easier to follow step by step.
Watch tutorial: